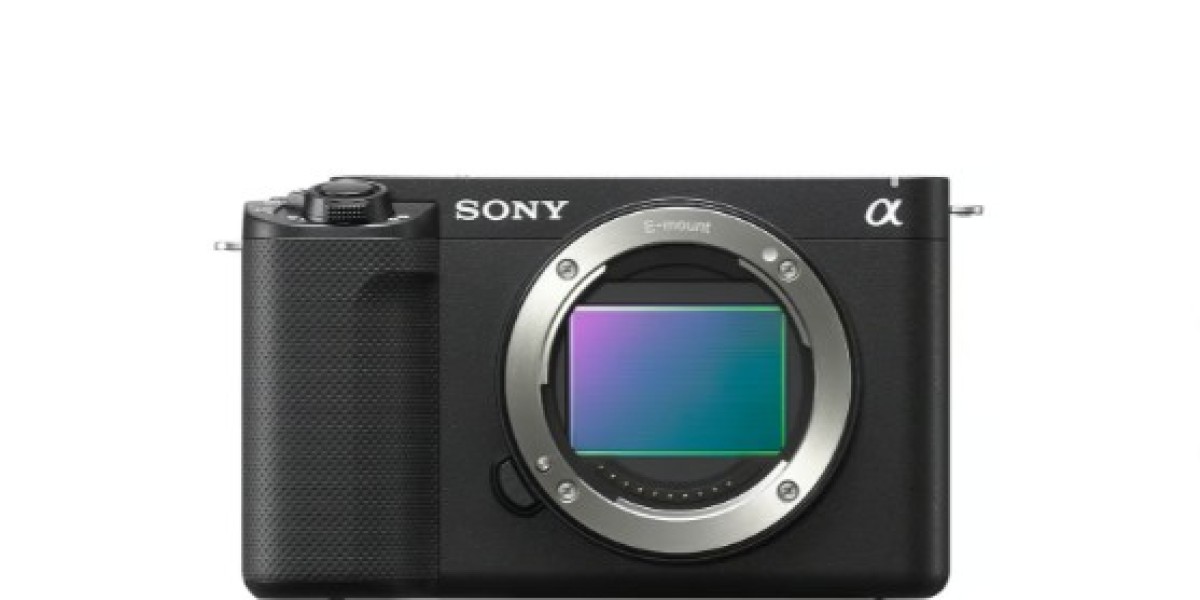
When shooting in low light, whether it’s during a sunset, an indoor event, or nighttime street photography, many photographers rely on their skills and their camera's capabilities to capture stunning images. Sony cameras, known for their innovative technology and superior low-light performance, offer extensive features that can help you master low-light photography. In this comprehensive guide, we’ll explore essential tips and techniques for making the most of your Sony camera in low-light situations.
Understanding Low-Light Photography
Before diving into the tips, let’s understand what low light is. Low-light photography refers to capturing images in environments with insufficient light. These settings can introduce a range of challenges, including motion blur, noise, and focus issues. Sony camera are designed to tackle these challenges effectively, but knowing how to manipulate your camera settings is crucial for optimal results.
1. Adjust Your ISO Settings
ISO is one of the three fundamental settings in photography, along with aperture and shutter speed. In low-light situations, increasing the ISO allows your camera to become more sensitive to light, enabling you to capture a clearer image without using a longer shutter speed or wider aperture.
Start Low and Increase Gradually: While a higher ISO is useful in low light, avoid starting at extreme ISO levels. Begin with a lower ISO setting (e.g., ISO 800), and increase it gradually as necessary. Most modern Sony cameras perform well at higher ISO settings, but you may still see grain or noise at excessively high values.
Use the Auto ISO Feature Wisely: Sony cameras have excellent auto ISO capabilities. You can set a maximum ISO and a minimum shutter speed according to your shooting conditions. This feature allows you to focus on framing and composition while your camera handles sensitivity.
2. Open Your Aperture
The aperture is the lens opening that allows light to enter the camera. A wide aperture (indicated by a smaller f-number) lets in more light, making it particularly beneficial in low-light scenarios.
Select a Wide Aperture: If your lens supports it, use the widest aperture available (such as f/1.4, f/1.8, or f/2.8) to maximize light intake. This setting is ideal for portraits and close-ups, as it can also create a pleasing background blur (bokeh) that enhances the subject's sharpness.
Use Fast Lenses: Investing in a fast lens with a wide maximum aperture can significantly improve your low-light photography. Lenses like the Sony FE 50mm f/1.8 or the Sony FE 24mm f/1.4 GM are excellent choices for low-light work.
3. Shutter Speed Adjustments
Shutter speed governs the amount of time your camera's sensor is exposed to light. In low-light situations, you may need to adjust your shutter speed to achieve correctly exposed images.
Slower Shutter Speeds: To gather more light, consider using slower shutter speeds. However, be mindful of camera shake, which can lead to blurry photos. A common rule of thumb is to use a shutter speed that is no slower than the reciprocal of your focal length (e.g., if you’re using a 50mm lens, don’t go slower than 1/50s).
Use Image Stabilization: Many Sony cameras come with built-in image stabilization (IBIS) or stabilization features in the lens. Enable these settings to help reduce the effects of camera shake, allowing you to shoot at slower shutter speeds with more stability.
4. Manual Focus
Focusing can be challenging in low-light conditions, especially when relying on autofocus systems that may struggle in dim environments. Using manual focus can improve accuracy and ensure sharp images.
Utilize Focus Peaking: Sony cameras often have a focus peaking feature that highlights the in-focus areas in your viewfinder or LCD screen. This feature can be invaluable when manually focusing in low light, allowing you to quickly identify sharp areas.
Zoom In for Precision: Many Sony cameras allow you to zoom in on the subject while in live view or electronic viewfinder mode. This zoom feature lets you fine-tune your focus for maximum sharpness.
5. Use a Tripod or Stabilizing Equipment
Even with the best techniques, shooting in low light can be tricky. To mitigate the risk of camera shake and improve the stability of your shots, consider using a tripod or other stabilizing equipment.
Invest in a Good Tripod: A sturdy tripod is essential for low-light photography. It allows you to use longer shutter speeds without the worry of camera shake. Look for a tripod that’s compact, easy to set up, and sturdy enough for your camera and lens.
Explore Gimbals or Handheld Stabilizers: For shooting video or moving subjects, consider using handheld gimbals or stabilizers. These devices provide smooth motion and stability, especially in low-light settings.
6. Utilize Your Camera’s Creative Modes
Most Sony cameras come with various creative modes and settings that help enhance your low-light photography experience. Here are some smart modes to consider:
Night Scene and Low Light Modes: Many Sony cameras offer specific mode options designed for low-light work. These modes automatically adjust settings like ISO and shutter speed to optimize your image quality.
Use HDR Mode: High Dynamic Range (HDR) mode can enhance images with significant differences in brightness, resulting in stunning photographs with greater detail in both highlights and shadows.
7. Play with White Balance
Low light conditions can affect the color temperature of your images, resulting in undesirable casts (especially artificial light). Adjusting your white balance can enhance your images’ overall color palette.
Use Custom White Balance: Instead of relying on auto or preset white balance settings, consider setting a custom white balance. Take a neutral-colored reference object (such as a gray card) and set your camera’s white balance according to that reference.
Experiment with Different Presets: In low-light environments, you might try different white balance presets that correspond to the type of light source you're dealing with (tungsten, fluorescent, daylight). This experimentation can yield creative results in your images.
8. Experiment with Long Exposures
Long exposures can create captivating images in low-light settings, allowing you to capture motion or transition effects.
Try Out Light Trails: When shooting in low-light, consider using a slow shutter speed to capture light trails, such as car headlights or star movements. This technique adds dynamism to your images and allows creative interpretations.
Use ND Filters: Neutral density (ND) filters reduce the amount of light entering the lens without affecting color balance. This enables you to use longer exposures even in relatively brighter low-light situations.
9. Post-Processing Techniques
Post-processing can significantly enhance your low-light photographs. Familiarity with editing software like Adobe Lightroom or Photoshop can help you fine-tune your images and correct any issues caused by low-light shooting.
Reduce Noise in Post-Processing: Even with the best camera settings, you may still end up with some noise—especially at high ISO values. Use noise reduction tools in your editing software to refine your images without losing detail.
Adjust Exposure and Contrast: Post-processing allows you to adjust exposure levels, contrast, and saturation, which can breathe new life into your low-light photographs. Be careful with the adjustments to maintain a natural look.
10. Practice and Experiment
Finally, the best way to improve your low-light photography skills is to practice and experiment. Familiarize yourself with your Sony camera’s features and settings. Try different scenarios and subjects in various lighting conditions to discover what works best for you.
Join Photography Groups or Workshops: Seek out local photography groups or online communities that focus on low-light photography. Engaging with fellow photographers can provide valuable insights and opportunities for collaboration.
Analyze Your Shots: After editing your images, take time to analyze what worked and what didn’t. Learn from your experiences to refine your skills and approach in future low-light
Conclusion
In conclusion, mastering low-light photography with your Sony camera can unlock a world of creative possibilities and enhance your visual storytelling. By understanding and utilizing features like wide aperture lenses, high ISO settings, and manual exposure controls, you can capture stunning images even in the dimmest environments. Don't forget the importance of stabilizing your shots, whether through image stabilization technology or using a tripod, to achieve sharp, clear results. With practice, experimentation, and attention to detail, you'll be able to navigate low-light conditions like a pro. Embrace the challenge, and let your Sony camera help you capture the beauty of moments that often go unnoticed in the shadows. Happy shooting.


