Simple Embroidery Designs Beginners Can Practice Now
Starting your embroidery journey can feel overwhelming with all the stitches, patterns, and techniques available. But don’t worry—every expert once started with the basics. In fact, the best way to build skill and confidence is to begin with simple embroidery designs that are easy to understand yet still look beautiful when complete.
In this article, we'll walk you through beginner-friendly ideas, tips, and tools that will make your embroidery experience enjoyable from the start. Whether you’re using a hoop and needle or a digital embroidery machine, these simple projects are ideal for mastering the art of threadwork.
Why Start with Simple Embroidery Projects?
Confidence Building for New Stitchers
Embroidery, like any craft, requires patience and practice. Simple designs allow you to focus on learning without feeling frustrated. These basic patterns are usually built with common stitches and minimal color changes, which keeps things manageable.
Fewer Materials, Lower Cost
Starting with small, easy patterns helps keep the cost of supplies low. You won’t need dozens of threads or specialty fabrics to get started. In fact, many simple embroidery designs only require 2–3 colors of floss and a cotton fabric base.
Faster Completion Time
As a beginner, it’s important to see results. Simple projects can often be completed in a single day or weekend, giving you a sense of achievement and motivation to continue learning.
Basic Supplies You'll Need
Before diving into your first project, make sure you have the following:
-
Embroidery hoop (4” to 6” is perfect for beginners)
-
Embroidery needle with a sharp tip
-
Cotton or linen fabric
-
Embroidery floss (start with 3–5 colors)
-
Small scissors
-
Water-soluble pen or pencil for tracing your pattern
If you're using a digital embroidery machine, you’ll also need digitized design files compatible with your machine format.
Foundational Stitches for Simple Designs
1. Backstitch
Perfect for outlines and lettering. It’s clean and controlled, ideal for floral stems or borders.
2. Running Stitch
The most basic stitch—used for lines and texture. Try this in repetitive patterns like waves or dotted trails.
3. Satin Stitch
Fill small areas smoothly with this stitch. Ideal for leaves, petals, or eyes in a cartoon-style animal.
4. French Knot
Great for adding detail like flower centers, berries, or decorative dots.
Learning these foundational stitches will give you the confidence to tackle a variety of simple embroidery designs right away.
Top 10 Simple Embroidery Designs for Beginners
1. Mini Floral Wreath
A small circular wreath of leaves and flowers is one of the most popular beginner patterns. Use just two or three types of stitches and a handful of colors.
2. Outline of a Cat or Dog
Silhouettes of pets are charming and perfect for beginners. You can use a backstitch to trace the outline and add a name for personalization.
3. Heart or Star Pattern
These classic shapes require minimal effort and are great practice for smooth curves and points.
4. Alphabet Letters
Start with your initials or spell a short word like "Love" or "Home." It's a fun way to practice even spacing and line control.
5. Leaf Pattern
Leaves are simple yet elegant. Create single leaves or a branch with a few leaves using satin and stem stitches.
6. Single Flower Design
Pick a simple daisy or tulip. These designs are great for understanding petal direction and layering.
7. Geometric Shapes
Triangles, squares, or diamonds can teach you control and spacing. Fill them in or leave them outlined.
8. Balloon or Cloud Motif
These whimsical patterns are fun and easy to complete with minimal detail.
9. Mountain Landscape
A simple layered mountain pattern with a sunrise or moon is both beautiful and manageable.
10. Cactus or Succulent Pot
Trendy and beginner-friendly. Stitch outlines and add textures for the pot and plant leaves.
All of these simple embroidery designs can be stitched by hand or found as basic machine-ready files for digital embroidery.
Tips to Make Your Embroidery Easier
Trace with a Lightbox or Window
If you don’t have a lightbox, taping your pattern and fabric to a window can help you trace the design clearly.
Start Small and Expand
It’s better to complete a small design with care than to get overwhelmed with a large one. As you improve, you can move on to larger projects or combine small motifs into one larger composition.
Use a Hoop Properly
Ensure your fabric is tight in the hoop. This prevents puckering and helps your stitches stay neat.
Thread Management Matters
Cut floss in manageable lengths (around 18 inches). Too long, and it will tangle or fray. Use a thread conditioner if needed to reduce friction.
Should You Try Machine Embroidery as a Beginner?
Absolutely. Modern embroidery machines are beginner-friendly and come with built-in designs you can start with. Most machines also support importing simple embroidery designs, which can be found online or purchased from trusted digitizing services.
If you’re not confident creating your own digital designs, consider platforms like ZDigitizing, which provide high-quality, machine-ready files tailored to beginners. These designs often include suggested thread colors, stitch counts, and hoop size—making it easier for you to succeed from the start.
Common Mistakes Beginners Should Avoid
Using the Wrong Fabric
Some fabrics are too thin or stretchy for embroidery. Stick to tightly woven cotton or linen to start.
Skipping the Stabilizer
Even for simple patterns, especially on clothing or machine embroidery, using stabilizer helps prevent distortion.
Too Much Tension on Thread
Pulling too hard can cause puckering or warping. Try to keep consistent, gentle tension.
Not Practicing on Scrap Fabric
Before diving into your main project, test a few stitches on spare fabric to get comfortable.
Simple Embroidery Projects You Can Gift or Sell
Once you’ve mastered a few basic patterns, you can use them to make personalized items like:
-
Hand towels with floral borders
-
Bookmarks with initials or quotes
-
Tote bags with cactus or star designs
-
Small framed hoop art as gifts
-
Baby bibs with animal outlines
-
Patches with hearts or monograms
These projects are not only fun but also a great way to practice placement and finishing techniques. Many crafters turn their passion for simple embroidery designs into a small business by selling handmade goods online.
Final Thoughts
Mastering embroidery doesn’t happen overnight—but choosing the right starting point can make your journey more rewarding. With simple embroidery designs, you get the chance to focus on learning the basics while still creating beautiful, usable pieces.
From mini florals to fun animal outlines, there’s no shortage of beginner-friendly ideas to practice right now. Stick with designs that use foundational stitches, and don’t be afraid to repeat the same project multiple times to improve.
Whether you’re crafting by hand or with a machine, your first stitches are the beginning of something amazing. And remember, you don’t need to be perfect—just persistent. Keep stitching, and enjoy every thread of progress.
FAQs
Q1: How long does a beginner embroidery design take?
Most basic designs take 1–3 hours, depending on size and stitch complexity.
Q2: Can I use regular sewing thread?
You can, but embroidery floss is designed to offer better coverage and color vibrancy. It’s recommended for quality results.
Q3: What’s the easiest design for a child to try?
Shapes like stars, hearts, or initials with a simple backstitch are great for young beginners.
Q4: Where can I get free beginner patterns?
There are free resources on crafting blogs, YouTube tutorials, and embroidery websites. ZDigitizing occasionally offers beginner sets with high-quality digitizing for machines.
Q5: Do I need a pattern, or can I draw my own?
Beginners often benefit from pre-made patterns, but as you grow more confident, drawing your own becomes a fun creative challenge.
Categorias
Leia Mais
"Executive Summary Europe Extrusion Machinery Market : For drawing up sustainable, money-making, and profitable business strategies, Europe Extrusion Machinery Market report acts as a valuable and actionable resource which provides best market insights that are significant for all time. This report serves the clients to tackle every strategic aspect including product...
If you own or manage a business in New York City, you know how crucial commercial refrigeration is. From walk-in coolers to display freezers, these systems keep your products fresh and your customers happy. But when a unit breaks down, one of the first questions you’ll have is: How much does commercial refrigeration repair cost in NYC? The answer depends on several factors, from the type...

Loans with the lowest interest rates may not always be the ideal option for you. Considering the advertised interest rate when calculating the interest cost may not accurately reflect the true cost of borrowing. This calculation does not include subsidiary costs that are involved when you take out a Loan. Hence, what you get at the end of the calculation process is the cost of the Loan, which...
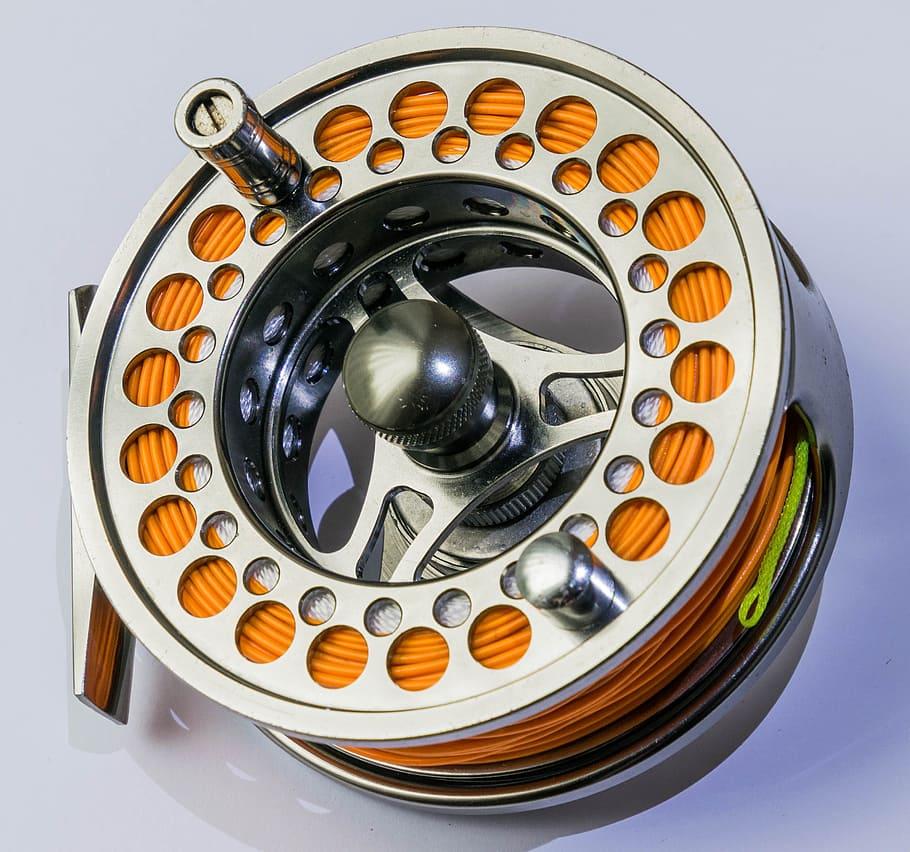
Getting ready for a day on the water? Whether you’re fishing in freshwater streams or out on the salty ocean, having the right gear can totally change your game. Two pieces of equipment that no serious angler should be without are quality fly reels for sale and a reliable fish finder for sale. Together, they help boost your fishing success and make your time on the water more fun and...
KUN Sports, founded in 2019, is transforming the fitness landscape in Saudi Arabia. As a Saudi-born brand, KUN Sports is committed to making high-quality fitness accessible to all with affordable gym membership, world-class equipment, and modern, inclusive gym environments. Designed for both men and women, our gyms cater to diverse fitness needs and levels, creating spaces where everyone...