Step-by-Step Process of a Successful Kitchen Remodel
Introduction
A kitchen remodel is one of the most satisfying home enhancement systems you can take over. Not only does it enhance the heart of your home, but it also improves functionality, boosts property value, and creates a space acclimatized to your life. Still, achieving a successful result requires careful planning, strategic prosecution, and attention to detail. This companion walks you through the complete step- by- step process of transubstantiating your kitchen from outdated to outstanding.
Step 1 – Define Your pretensions and Budget
Every great remodel starts with a clear vision. Begin by relating the main reasons for streamlining your kitchen — whether it’s to ameliorate workflow, contemporize the look, or increase resale value. Write down your must- have features, similar as a kitchen islet, custom closets, or energy-effective appliances. At the same time, set a realistic budget that accounts for labor, accoutrements , and an redundant contingency fund for unanticipated charges. A well- defined budget keeps the design concentrated and prevents overspending.
Step 2 – Gather Alleviation and Ideas
Before making any opinions, take time to explore design alleviation. Browse magazines, Pinterest boards, and home addition websites to discover styles that reverberate with you. Whether you prefer a satiny ultramodern kitchen, a cozy grange vibe, or a dateless transitional look, collect images and ideas that reflect your taste. Consider how your chosen style will round your home’s armature and color palette.
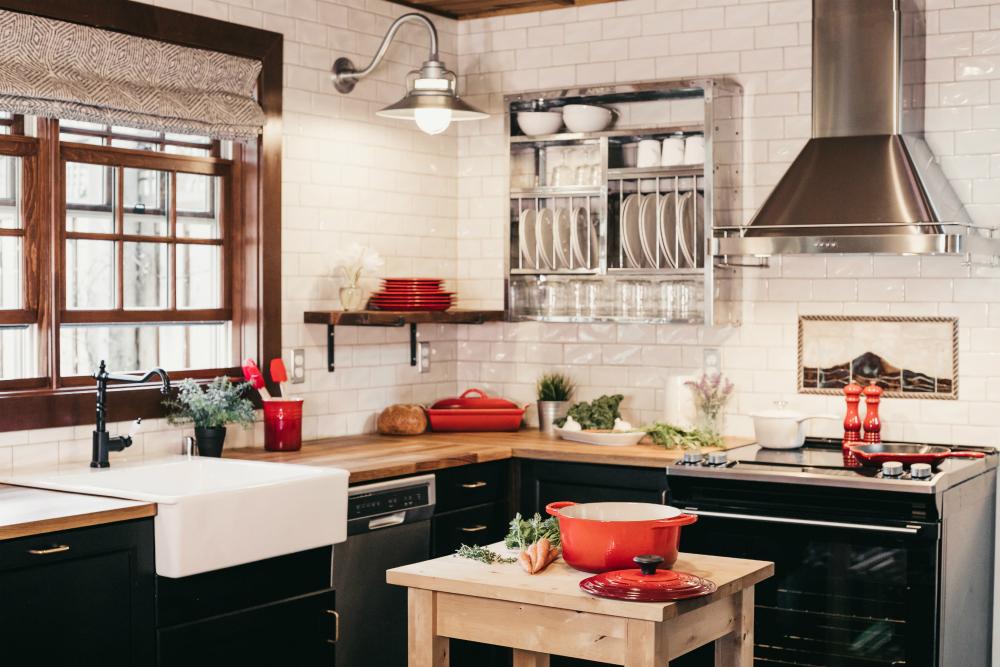
Important Note:Upgrade your home with our professional kitchen remodeling service in Chula Vista, CA. Custom designs, quality craftsmanship, and stunning results tailored to your style.
.
Step 3 – Choose a Professional redoing Service
Hiring the right redoing service can make all the difference between a smooth design and a stressful experience. Look for certified and ensured contractors with strong portfolios and positive reviews. Request multiple flings to compare pricing, and meet with implicit remodelers to bandy your vision. Clear communication is essential — insure your contractor understands your pretensions, budget, and timeline before work begins.
Step 4 – produce the Design Plan
Work nearly with a developer or your contractor to finalize your kitchen layout. This includes determining where appliances, closets, and workspaces will be placed for maximum effectiveness. Select accoutrements , homestretches, and colors that suit both your style and your life needs. Do n’t overlook practical considerations similar as storehouse results, lighting placement, and ergonomic design for comfortable cuisine and amusing.
Step 5 – gain Necessary Permits
numerous kitchen remodels bear structure permits, especially when electrical, plumbing, or structural changes are involved. Your contractor can help navigate original structure canons and handle permit operations. While permits may feel like a hassle, they insure your remodel meets safety norms and passes examination, guarding both your investment and your home’s value.
Step 6 – obliteration and Preparation
Once plans are in place and permits secured, it’s time for obliteration. This stage involves removing old closets, countertops, flooring, and occasionally walls. Proper medication, similar as sealing off other areas of the home, helps control dust and debris. obliteration may also uncover retired issues — like water damage or outdated wiring — that need addressing before moving forward.
Step 7 – Electrical, Plumbing, and Structural Work
With the space cleared, contractors can begin before- the- scenes upgrades. This includes installing new electrical wiring, outlets, and lighting institutions, as well as streamlining plumbing lines for cesspools, dishwashers, and refrigerators.However, framing new walls or buttressing living bones
may also do at this stage, If your remodel involves changing the layout.
Step 8 – Flooring, closets, and Countertops
The installation process begins with flooring, icing a smooth and indeed face throughout the kitchen. Next, closets are precisely mounted to fit the design plan, followed by the placement of countertops. Countertops not only serve as a work face but also play a major part in defining the kitchen’s style, so continuity and visual appeal are crucial considerations.
Step 9 – Appliances, Institutions, and Finishing Touches
With the main structures in place, it’s time to bring the kitchen to life. Appliances are installed and connected, sinks and gates are fitted, and backsplashes are added for both function and style. tackle similar as hole pulls and press handles are attached, and the walls are painted to complete the look. These final traces are where your design vision truly comes together.
Step 10 – Final Walkthrough and Quality Check
Before considering the remodel complete, perform a detailed walkthrough with your contractor. Check that all appliances work, closets align rightly, and homestretches are indefectible. Address any issues instantly and insure you admit guaranties for products and workmanship. This step guarantees your satisfaction and ensures the remodel meets your prospects.
Conclusion
A successful kitchen remodel is the result of thoughtful planning, professed artificer, and clear communication from launch to finish. By following this step- by- step process, you can transfigure your kitchen into a functional, beautiful space that enhances your diurnal life and adds lasting value to your home. With the right approach, your dream kitchen is near than you suppose.
Categorias
Leia Mais
When Love Feels Far Away Love makes life beautiful. It gives us smiles, joy, and hope. But sometimes, love gets lost because of small fights or misunderstandings. When that happens, everything starts to feel empty. Even small things stop feeling happy. We all wish we could bring love back, fix what went wrong, and feel close to that special person again. That’s where astrology can help....

"Executive Summary Fatty Acid Methyl Ester (FAME) Market Size and Share Across Top Segments Data Bridge Market Research analyses that the fatty acid methyl ester (FAME) market will witness a CAGR of 6.40% for the forecast period of 2022-2029. Fatty Acid Methyl Ester (FAME) Market research report comprises of fundamental, secondary and advanced information related to the global...
The world of intimacy is constantly evolving, shaped by shifting needs, technology, and personal desires. Among the many innovations reshaping how people experience closeness, BBW sex dolls stand out as one of the most discussed and sought-after options. These dolls represent more than physical fulfillment—they connect deeply with emotional comfort, body positivity, and...

HTML (HyperText Markup Language) is the backbone of every website. It provides the basic structure that web browsers use to display content. Whether you’re building a simple webpage or a complex web application, HTML Tutorial is the starting point. In this tutorial, you will learn the core concepts of HTML, including elements, attributes, headings, paragraphs, links, images, tables,...

Middle East and Africa Audio Critical Communication Market, By Product Type (Hardware and Services), Connectivity (Wireless and Wired), End-Use (Public Safety, Transportation, Mining, Utilities and Others) – Industry Trends and Forecast to 2029. Data Bridge Market Research analyses that the audio critical communication market is expected to reach the value of USD 1,273.64 million by 2029,...