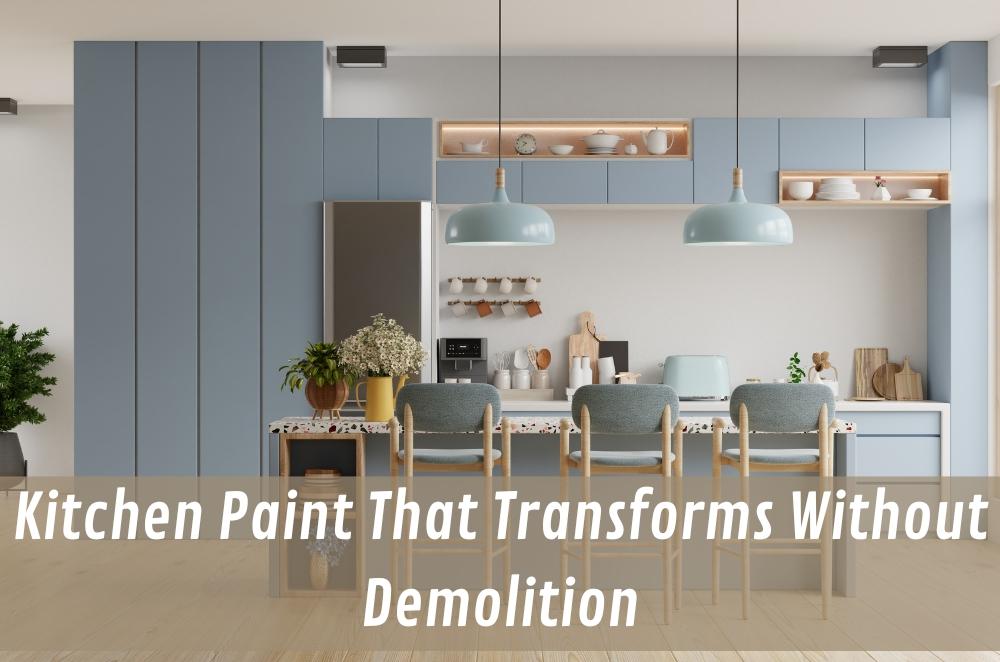
Kitchen Paint That Transforms Without Demolition

When a kitchen starts to look tired, a full renovation isn’t your only option. Smart paint systems can reset the space quickly, cleanly, and without wrecking the budget. Many households now choose kitchen resurfacing to refresh doors, drawer fronts, and trims while keeping the bones that already work. It’s less waste, less downtime, and far more controllable. With solid preparation, the right primers, and durable enamels, cabinets achieve a factory finish that withstands steam, spills, and school-lunch traffic. Colour still matters, but performance matters more. When workmanship and materials align, the room feels new again—bright, cohesive, and easy to maintain—without demolition dust or weeks of trades underfoot.
What makes kitchen paint last?
Durability comes from preparation, adhesion, and curing—done in the right order. Pair cabinetry-grade primers with tough enamels, and the finish resists knocks, steam, and constant wiping.
Degreasing before sanding prevents bonding issues; sanding between coats levels the texture for that factory-flat feel. Hardware off, doors laid flat, and labelled hinges speed re-fit and cut chip risk. Respect true cure windows—touch-dry isn’t cured—and keep air moving so coatings harden properly. A satin or low-sheen enamel stays wipeable without spotlighting every ripple. For laminate faces, an adhesion primer is non-negotiable, and a light scuff between coats keeps each layer keyed.
• Degrease first, then sand between coats
• Use cabinetry-grade adhesion primer
• Allow proper cure and ventilation
For local planning and trade coordination, consider CBD kitchen painting tips to align with apartment access and strata rules.
Which colours suit small kitchens?
Light, warm neutrals open tight rooms; deeper tones work best on islands or lowers. Balance and contrast beat any single ‘perfect’ colour.
South-facing rooms often welcome warmer whites to soften shadows, while cool whites can feel clinical. Greige plays nicely with stone and timber; muted eucalyptus greens complement brushed nickel or brass. Test boards vertically near benches and view them under task lighting—you’ll spot sheen changes where you actually cook.
• Warm whites flatter low light
• Navy lowers with white uppers
• Soft greens partner with timber
How should you plan the project?
Stage the job so the kitchen stays usable. Plan the sequence, protect surfaces, and label everything so re-fit runs smoothly.
Scope clearly—doors, frames, end panels, kickboards, open shelves—and decide on handle updates before painting, because hole spacing dictates patching. Book lifts and parking if you’re in a tower and note quiet hours for sanding. Line benches and floors, set up drying racks, and keep a small touch-up pot for re-hang bumps. Record the exact products, colour codes, and sheen so maintenance is easy months later. If you’re spraying, create a small booth with drop sheets and an exhaust fan, and test atomisation on the back of a door. Rolling? Use a fine foam or microfiber mini for edges, lay off in long passes, and keep a wet edge to avoid tram tracks.
A careful paint refresh beats demolition for speed, cost, and mess. Choose durable systems, respect the prep, and plan the work in sensible stages so life keeps moving around the project. For a pulse on finishes and palettes shaping current cabinetry looks, this snapshot of kitchen painting trends can help crystallise decisions.


