


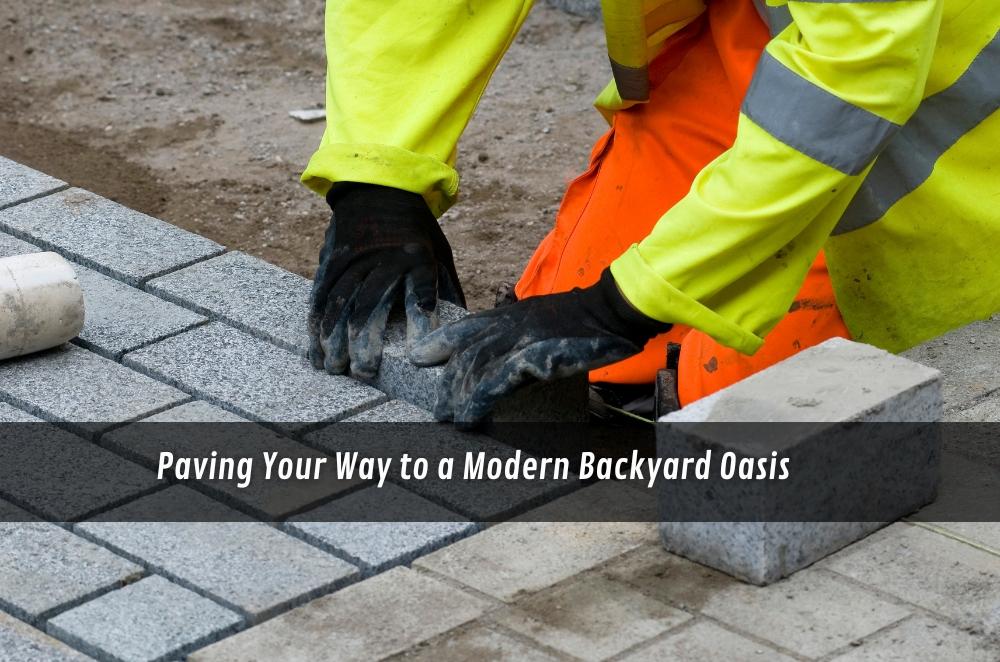
Paving Your Way to a Modern Backyard Oasis
A backyard oasis isn’t built overnight—it’s the product of smart choices about space, materials and the way everything works together. In Sydney, outdoor areas often double as dining rooms, play zones and quiet retreats, so the surfaces you lay down need to carry more weight than just looking good. They should drain properly after heavy rain, feel safe underfoot, and blend with the planting that softens the hard edges. When I start planning a project, I look at how the family will actually use each zone, then match finishes that make sense for that rhythm of life. Clean geometry and practical textures tend to work best, but a little imagination goes a long way, too. That’s why people often lean toward modern paving designs, because they strike a balance between streamlined looks and everyday functionality—offering a framework that adapts as the garden grows and your lifestyle shifts.
What modern looks like in Sydney backyards
Good modern design solves use and flow first, then lets the look fall into place. When I reworked a tight Ashfield courtyard, we used large-format porcelain for the main terrace, then spaced matching steppers through decomposed granite to the clothesline. It read as one space, yet each zone had a job.
-
Big pavers reduce visual noise and trip points while keeping joints neat.
-
A single tone across zones feels calm; texture changes add interest without clutter.
-
Low, hardy natives (lomandra, westringia, dianella) cool hardscape and frame edges.
-
Subtle lighting—warm, shielded—extends evenings without glare.
Planning for drainage, levels and access
Sydney rain can test any courtyard. The trick is planning falls, edges and surface transitions before you pick a paver. On a Drummoyne job, we ran a shallow linear drain along the threshold and set consistent falls away from the doors. First storm after completion—no pooling, no splashing on the sills.
-
Establish finished floor levels at doorways; work back from the thresholds.
-
Keep a gentle, consistent fall away from structures; avoid sudden steps in the plane.
-
Use discreet edge restraints (haunching or slim aluminium) to hold lines.
-
Separate pedestrian routes from service zones to keep surfaces clean.
Materials that suit local conditions
Coastal air, hot sun and shaded pockets call for surfaces that stay stable and easy to maintain. Pick the finish for grip and cleanability first; aesthetics follow.
-
Porcelain pavers: dense, colour-fast, low porosity; a solid option around pools and shaded zones.
-
Concrete pavers or honed concrete: versatile sizing with a dependable finish; responds well to breathable sealers.
-
Natural stone: granite, bluestone, and travertine bring depth; look for textured finishes for wet areas.
-
Stabilised gravel between steppers: permeable, tidy with edge restraint, and forgiving on tree roots.
Compliance and quality after the build
Even when a paving project feels straightforward, there’s always a layer of responsibility once the work is complete. Defects, drainage issues or disputes can arise months later, and the way they’re handled depends on more than just goodwill. Clear rules exist to protect homeowners and set standards for contractors. Understanding NSW building regulations helps you prepare for that stage, from knowing what paperwork to keep on file to recognising how long a warranty should last.
-
Keep a file for contracts, drawings, product data and care instructions.
-
Confirm that falls, thresholds, and drainage align with the documentation.
-
Photograph stages (sub-base, bedding, edges) before they’re covered.
-
Note contact details and licence information for everyone who worked on site.
I’ve seen the difference this record-keeping makes. On a Balmain pathway that settled along a service trench, photos of the compaction stages and edge details made troubleshooting direct and calm. No finger-pointing—just a clear path to fixing it.
Plans, scope and hiring that keep projects on track
Most paving headaches start before the first paver is laid—unclear scope, missing levels, vague drainage notes. A simple plan set removes guesswork and speeds decisions on site. Begin with a site sketch, add dimensions, mark falls and surface types, then document edges and transitions. When you engage trades, clarity helps everyone price and schedule their work more accurately and keeps sequencing tidy.
-
Define zones by function first; assign materials once movement lines are clear.
-
Mark drainage routes, pit positions and any linear grates on the plan.
-
Nominate joint widths, bond pattern, and where cuts should be concealed.
-
Flag access limits (narrow gates, stairs) so delivery and handling are planned.
On a terrace upgrade in Petersham, a single drawing with two sections (threshold detail and drain connection) avoided three site visits. The crew arrived knowing exactly where the grate sat and how the falls tied back.
Smart design touches that age well
The best details are often the quiet ones. Keep lines clean, transitions gentle, and material changes purposeful. Grey-on-grey can feel stark in Sydney light; warmer neutrals and clay tones hold up better under the sun and create easier transitions into planting. Where a space runs narrow, use continuous joints to lead the eye outward. Where it’s wide, break planes with a change in texture, not colour.
A few years back in Marrickville, I was helping a family reshape a courtyard that felt chopped into pieces. We re-laid the terrace with one consistent paver, then added slim gravel bands at the edges to soften the look. As I sketched the pattern, it felt a lot like following an outdoor paving guide written in my head—strip things back, keep the joints deliberate, and let textures do the talking. The result wasn’t flashy, but it was calm, and it still feels balanced every time I visit.
-
Repeat one material across zones; change texture to mark different uses.
-
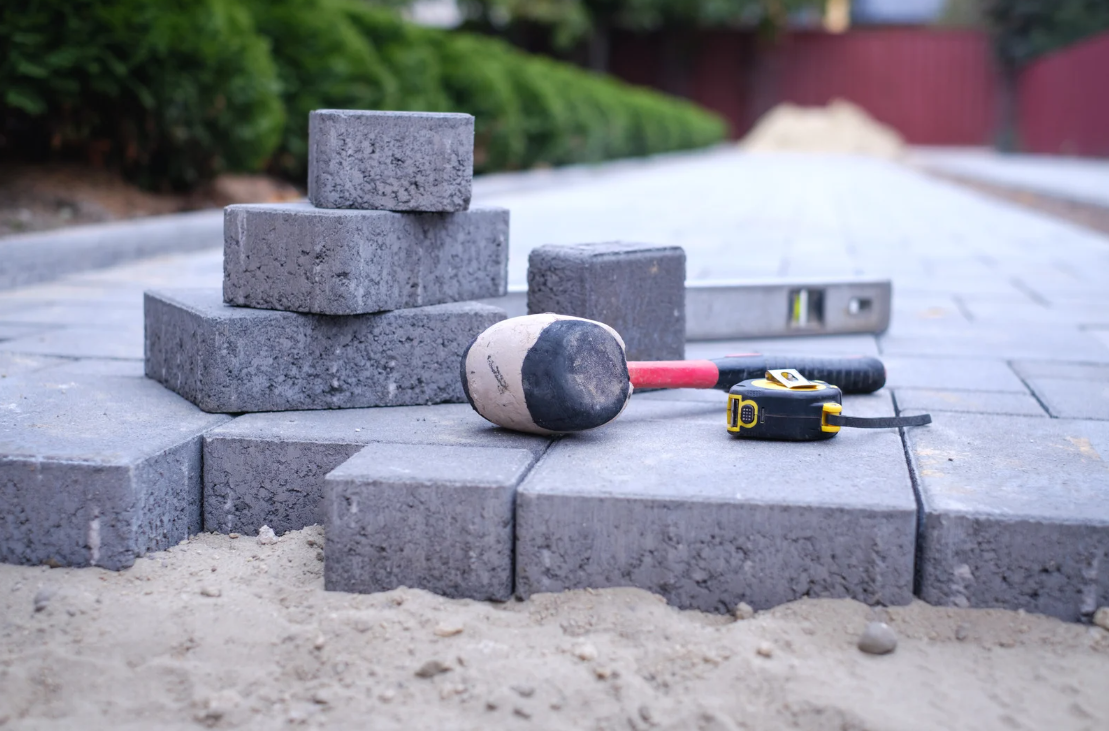
Use steppers with 50–80 mm open joints over free-draining aggregate.
-
Keep thresholds flush with careful falls and discreet linear grates.
-
Pair hardscape with climate-fit species to reduce glare and keep surfaces cooler.
I like to road-test layouts with a dry lay. In one Coogee courtyard, shifting a single stepping line 120 mm widened the planting pocket enough for lomandra to thrive—shade improved, glare dropped, and the whole space felt calmer.
Final thoughts
Aim for a short, durable list of decisions: geometry first, drainage sorted, materials that handle sun and shade, and edges that hold their line. Let planting and lighting soften the structure and invite longer evenings without harsh glare. If you begin with a simple layout that respects your site’s natural movement and microclimate, the result will feel grounded from day one—and stay that way as the garden matures.
Categorie
Leggi tutto
If you’ve ever caught yourself daydreaming about walking through quiet mountain forests, sitting by a campfire with strangers who feel like old friends, or waking up to snow-covered peaks just outside your tent — you’re not alone. That was me for years. And that’s how I finally found myself booking the Kuari Pass trek, not really knowing what to expect, but needing...

In today's highly competitive online and retail market, packaging plays an essential role in the customers' experience and branding. There are a variety of styles to choose from; Tuck Top Packaging is one of the most sought-after options for companies across all sectors. Its simple design, ease of accessibility, and appealing aesthetics make it a flexible packaging solution that can meet both...

Pune Call Girls offer unlimited fun · Important Key Click Here Pune Call Girl Hyderabad Call Girls Delhi Call Girls Mumbai Call Girls Pune Call Girl Services In Your Budget @24/7 Available Have Pune Call Girls ever seduced you? No. Then you're headed in the wrong direction. Escorts are supposed to love their partners without conditions....

Our escorts will undoubtedly turn heads and leave you wanting more, especially with our one-on-one experience! We strive to make you feel comfortable. Indian Escorts in Abu Dhabi Their goal is to ensure you have an unparalleled experience of relaxation, comfort, and pleasure, something they masterfully achieve. We specialize in providing beautiful ladies dedicated to providing a wonderful...

Executive Summary Bonsai Market : The global bonsai market was valued at USD 5.63 billion in 2024 and is expected to reach USD 9.26 billion by 2032, During the forecast period of 2025 to 2032 the market is likely to grow at a CAGR of 6.40% primarily driven by the increasing demand for aesthetic and decorative plants. Bonsai Market report puts forth...