

How to Assemble a Diamond Shaped Gift Box Like a Professional
Gift-giving is an art, and the packaging can make all the difference. A diamond shaped gift box adds a touch of elegance and uniqueness to any present, turning a simple gesture into something memorable. But assembling one might seem tricky at first. Don’t worry—this guide will walk you through the process step-by-step, ensuring your Diamond Shaped Packaging looks polished and professional.
Why Choose a Diamond Shaped Gift Box?
Diamond gift boxes online are a fantastic choice because they stand out from standard square or rectangular boxes. Made from sturdy materials like cardboard or kraft paperboard, Paperboard Diamond Gift Boxes are eco-friendly, durable, and perfect for showcasing your thoughtful gift. Their unique shape adds a layer of sophistication, ideal for birthdays, anniversaries, or corporate gifting.
What You’ll Need
Before you start, gather these essentials:
-
A diamond shaped gift box (pre-cut and scored for easy folding)
-
Double-sided tape or glue dots
-
Ribbon or decorative twine (optional)
-
Your gift item, sized to fit the box
-
Scissors (if trimming is needed)
Most Diamond Shaped Packaging comes flat-packed, so it’s easy to store and assemble when needed. If you’re sourcing custom packaging with logo, you’ll likely receive high-quality kraft or cardboard options designed for quick assembly.
Step-by-Step Assembly Guide
1. Prepare Your Workspace
Clear a flat surface to work on. Lay out your diamond gift box flat, with the pre-scored lines facing up. These lines are your guide for folding, so take a moment to familiarise yourself with them. If the box has a glossy or printed finish, handle it carefully to avoid smudges.
2. Fold the Base
Start with the bottom section of the Paperboard Diamond Gift Box. Fold along the scored lines to form the diamond shape. Most designs have four main flaps that create the base. Fold each flap inward, ensuring the edges align neatly. Secure the flaps with double-sided tape or glue dots for a firm hold. Press gently to ensure the adhesive sticks properly.
3. Place Your Gift
Carefully place your gift inside the box. Ensure it fits snugly without forcing the sides, as this could distort the diamond shape. If the item is small, consider adding tissue paper or eco-friendly shred to fill the space and enhance the presentation.
4. Close the Lid
The top of the diamond gift box usually mirrors the base. Fold the top flaps along the scored lines, tucking them in to form a clean, diamond-shaped lid. Secure with adhesive, ensuring the edges are crisp. If your box includes a pre-attached lid, simply fold and secure it as instructed.
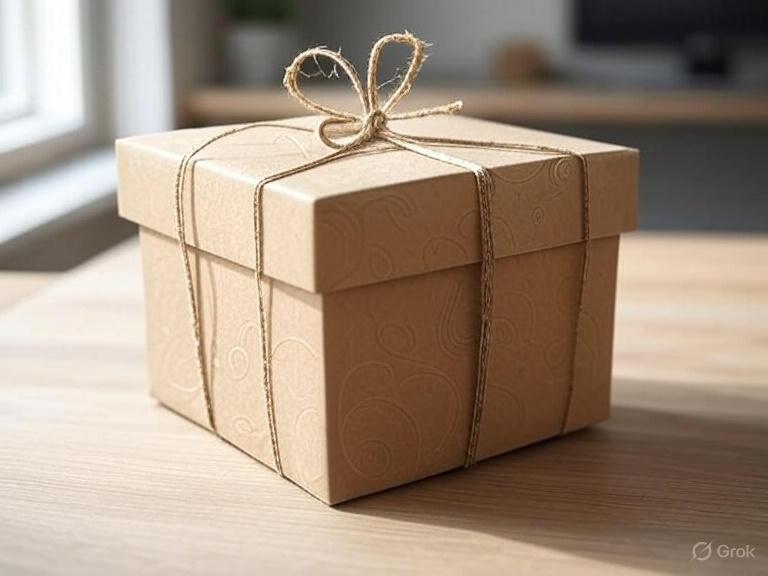
5. Add a Finishing Touch
For that professional flair, tie a ribbon or twine around the box, securing it with a bow or knot. This not only looks stunning but also keeps the box securely closed. Opt for a colour that complements the kraft or cardboard finish for a cohesive look.
Tips for a Flawless Finish
-
Check Alignment: Ensure all folds are precise to maintain the diamond shape.
-
Use Quality Materials: High-quality Paperboard Diamond Gift Boxes are less likely to tear or warp.
-
Practice First: If you’re new to assembling Diamond Shaped Packaging, try a test run with a spare box.
-
Eco-Friendly Choice: Kraft boxes are recyclable, making them a sustainable option for environmentally conscious gifting.
Final Thoughts
Assembling a diamond shaped gift box is simpler than it looks. With a bit of patience and the right materials, you can create a stunning presentation that elevates your gift. Whether you’re sourcing diamond gift boxes online or in bulk, the process remains the same—fold, secure, and decorate. Your recipient will be wowed before they even open the box!