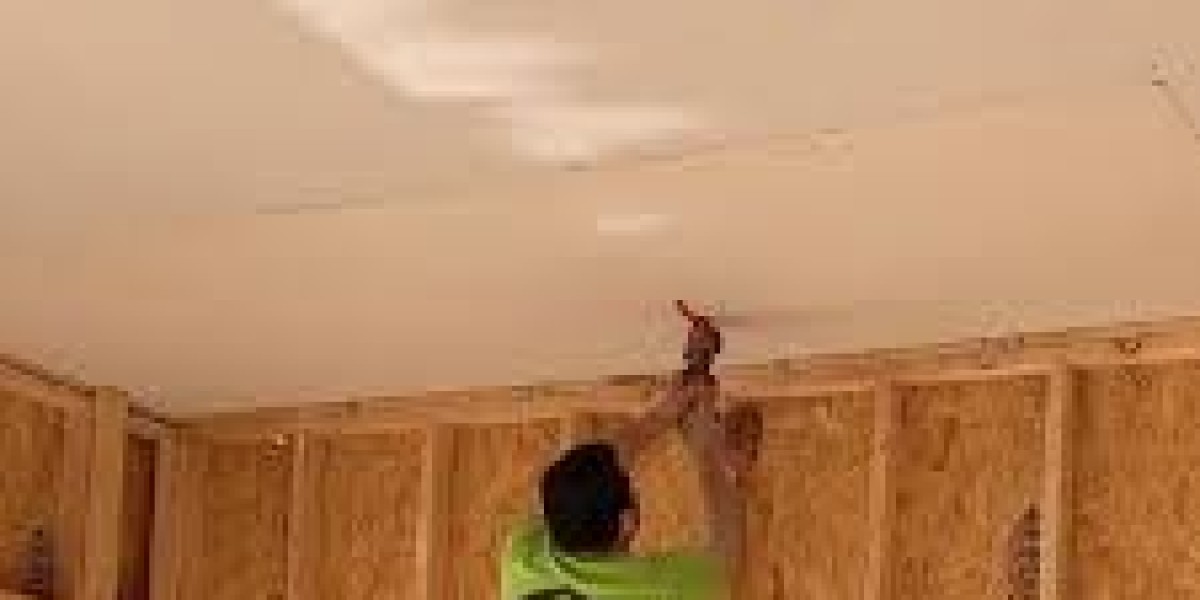
Drywall is a fundamental component in modern construction, providing smooth, durable surfaces for walls and ceilings. Whether it’s a residential renovation or a large-scale commercial project, professional drywall installation ensures a strong, uniform finish that serves as the foundation for interior design. When considering drywall installation San Francisco, it’s essential to understand the process, material options, and factors that impact the quality of the final outcome.
Importance of Professional Drywall Installation
Drywall serves multiple functions beyond just covering wall frames. It contributes to fire resistance, soundproofing, and energy efficiency while offering a paint-ready surface. A poorly installed drywall system can result in visible seams, cracks, or uneven surfaces, affecting both durability and aesthetics. Skilled craftsmanship guarantees a smooth and long-lasting result.
Types of Drywall
Various types of drywall are available, each designed for specific applications. Choosing the right one depends on factors such as moisture exposure, fire safety, and insulation needs.
1. Regular Drywall (White Board)
This standard type is widely used in residential and commercial properties. It comes in various thicknesses, typically ranging from 1/4 inch to 5/8 inch, and is suitable for most interior walls and ceilings.
2. Moisture-Resistant Drywall (Green Board)
Ideal for bathrooms, kitchens, and basements, this variety has a moisture-resistant core that helps prevent mold and mildew growth. While not completely waterproof, it provides better protection than regular drywall in humid environments.
3. Fire-Resistant Drywall (Type X)
Designed with glass fibers to improve fire resistance, Type X drywall is commonly used in multi-family housing, garages, and commercial spaces where fire codes require enhanced safety.
4. Soundproof Drywall
Constructed with multiple layers of gypsum and sound-dampening materials, this type minimizes noise transfer between rooms, making it an excellent choice for offices, apartments, and home theaters.
5. Mold-Resistant Drywall (Purple Board)
Manufactured with anti-microbial properties, this drywall option prevents mold growth and is suitable for high-humidity areas.
6. Cement Board
Used as a backer board for tile applications, particularly in showers and wet areas, cement board is more durable than moisture-resistant drywall.
The Drywall Installation Process
A professional installation involves several crucial steps to ensure smooth and durable walls. Understanding each phase helps in assessing the quality of work.
1. Planning and Preparation
Before installation, proper measurements are taken to determine the number of drywall sheets needed. Electrical outlets, windows, and plumbing fixtures are marked to ensure accurate cutting and placement.
2. Framing Inspection
The wall and ceiling framework must be secure and level before installing drywall. Any structural issues are addressed at this stage to prevent future complications.
3. Cutting and Positioning Drywall Sheets
Drywall sheets are cut to size using a utility knife or drywall saw. They are then positioned against the framing, ensuring tight seams while leaving small gaps around windows and doors for natural expansion.
4. Fastening the Drywall
Sheets are secured to the framing using screws or nails, with fasteners placed at regular intervals to prevent sagging. Proper screw depth is critical—too deep can weaken the board, while too shallow can leave visible bumps.
5. Taping and Mudding Seams
Joint tape is applied over seams to create a uniform surface. Multiple layers of joint compound (mud) are spread over the tape and screw holes to smooth out imperfections. Each layer is left to dry before sanding and applying the next coat.
6. Sanding and Smoothing
Once the final coat of mud dries, sanding is performed to eliminate rough spots and create a flawless finish. Dust control is important at this stage to prevent contamination of other areas in the building.
7. Priming and Painting
A primer is applied to seal the drywall surface before painting or applying wall finishes. This step enhances paint adhesion and creates a consistent color application.
Factors Affecting Drywall Installation Quality
Several elements contribute to the overall success of a drywall installation project. Paying attention to these details ensures a durable and visually appealing finish.
1. Proper Framing Alignment
Uneven framing can lead to misaligned drywall sheets and visible imperfections. Ensuring a level framework helps achieve a seamless look.
2. Correct Fastening Techniques
Using the right screw placement and depth prevents cracks, nail pops, and weakened boards. Overdriving screws can break the paper layer, while underdriving results in protrusions.
3. Precision in Taping and Mudding
Applying joint compound evenly and allowing sufficient drying time between coats ensures smooth seams and a flawless appearance. Rushing this process can lead to visible lines and air bubbles.
4. Quality of Materials Used
Choosing high-quality drywall, joint compound, and fasteners directly impacts the longevity and resilience of the installation.
5. Environmental Considerations
Humidity and temperature fluctuations can affect the drying time of joint compound. Maintaining optimal conditions during installation prevents premature cracking and uneven finishes.
Common Drywall Problems and Their Solutions
1. Cracks in Drywall
Caused by settling of the building, temperature changes, or improper installation, cracks can be repaired using joint compound and reinforcement tape.
2. Nail Pops
Nail or screw pops occur when fasteners push through the surface. Fixing this involves resetting the fastener and applying joint compound.
3. Uneven Joints
Poor taping or insufficient sanding results in visible seams. Sanding and reapplying joint compound can correct this issue.
4. Water Damage
Leaks or high humidity can damage drywall, leading to soft spots or mold growth. In severe cases, replacing the affected drywall section is necessary.
Cost Considerations for Drywall Installation
Several factors influence the cost of drywall installation in San Francisco, including:
- Project Size: Larger areas require more materials and labor, impacting overall costs.
- Drywall Type: Specialized drywall, such as fire-resistant or soundproof varieties, may cost more than standard options.
- Labor Fees: Skilled professionals charge based on the complexity of the project, accessibility, and time required.
- Finishing Level: Higher-end finishes, such as smooth walls or intricate designs, demand more labor and materials.
On average, drywall installation costs range from $1.50 to $3.50 per square foot, with more complex projects reaching higher prices.
Choosing the Right Drywall Contractor
Selecting a qualified drywall contractor ensures high-quality workmanship and a smooth installation process. Here’s what to look for:
- Experience and Reputation: A contractor with a solid track record delivers reliable results.
- Licensing and Insurance: Ensuring proper credentials protects against liabilities.
- Client Reviews and References: Feedback from previous clients provides insight into service quality.
- Clear Pricing Estimates: A detailed quote helps in budgeting and prevents unexpected costs.
24/7 Sf Handyman & Remodeling Service ,Professional drywall installation San Francisco provides durable, smooth walls that serve as the foundation for any interior space. From selecting the right drywall type to ensuring precision in installation, each step plays a crucial role in achieving a high-quality result. With proper planning, skilled craftsmanship, and attention to detail, a well-installed drywall system enhances the structural integrity and visual appeal of a property. Investing in expert services ensures long-lasting performance and a flawless finish.


